Excited?! Roll up your sleeves and prepare your taste buds for a truly tasty adventure! All it takes is a few basic ingredients and in a matter of minutes, you’ll have the pleasure of savoring your very own creation!
SENSATIONAL SNOW POPS
Items needed:
- Ice Pop Mold
- Snow cone syrup of your choice
- Water
- Ice Pop sticks (if not included with mold)
- Step 1: Clean out ice pop mold
- Step 2: Pour a few tablespoons of water, followed by one tablespoon of snow cone syrup into each mold.
- NOTE: (Adjust this based on the size of your molds, using a ratio of 3:1) (Too much snow cone syrup will cause the ice pop to become overpoweringly sweet and strong)
- Step 3: Next, if your ice pop molds have covers with built-in sticks, simply cover the molds after filling them, and place them in the freezer until frozen, (about 4-5 hours)
- On the contrary, if your molds require sticks to be added, freeze the pops until partially frozen, (about 2 hours), after which you’ll gently slide the stick into the center of each pop, so it is sturdy in place. Then put it back in the freezer until completely frozen.
- Step 4: Remove ice pop molds from freezer and take out each pop.
- If it’s too difficult to loosen the ice pops from the molds, then let them sit at room temperature for a little while before you try again. While you can leave the ice pops in their molds for days, it’s best to remove from molds as soon as possible to prevent discoloration and texture changes.
- Step 5: Serve with a smile and enjoy!
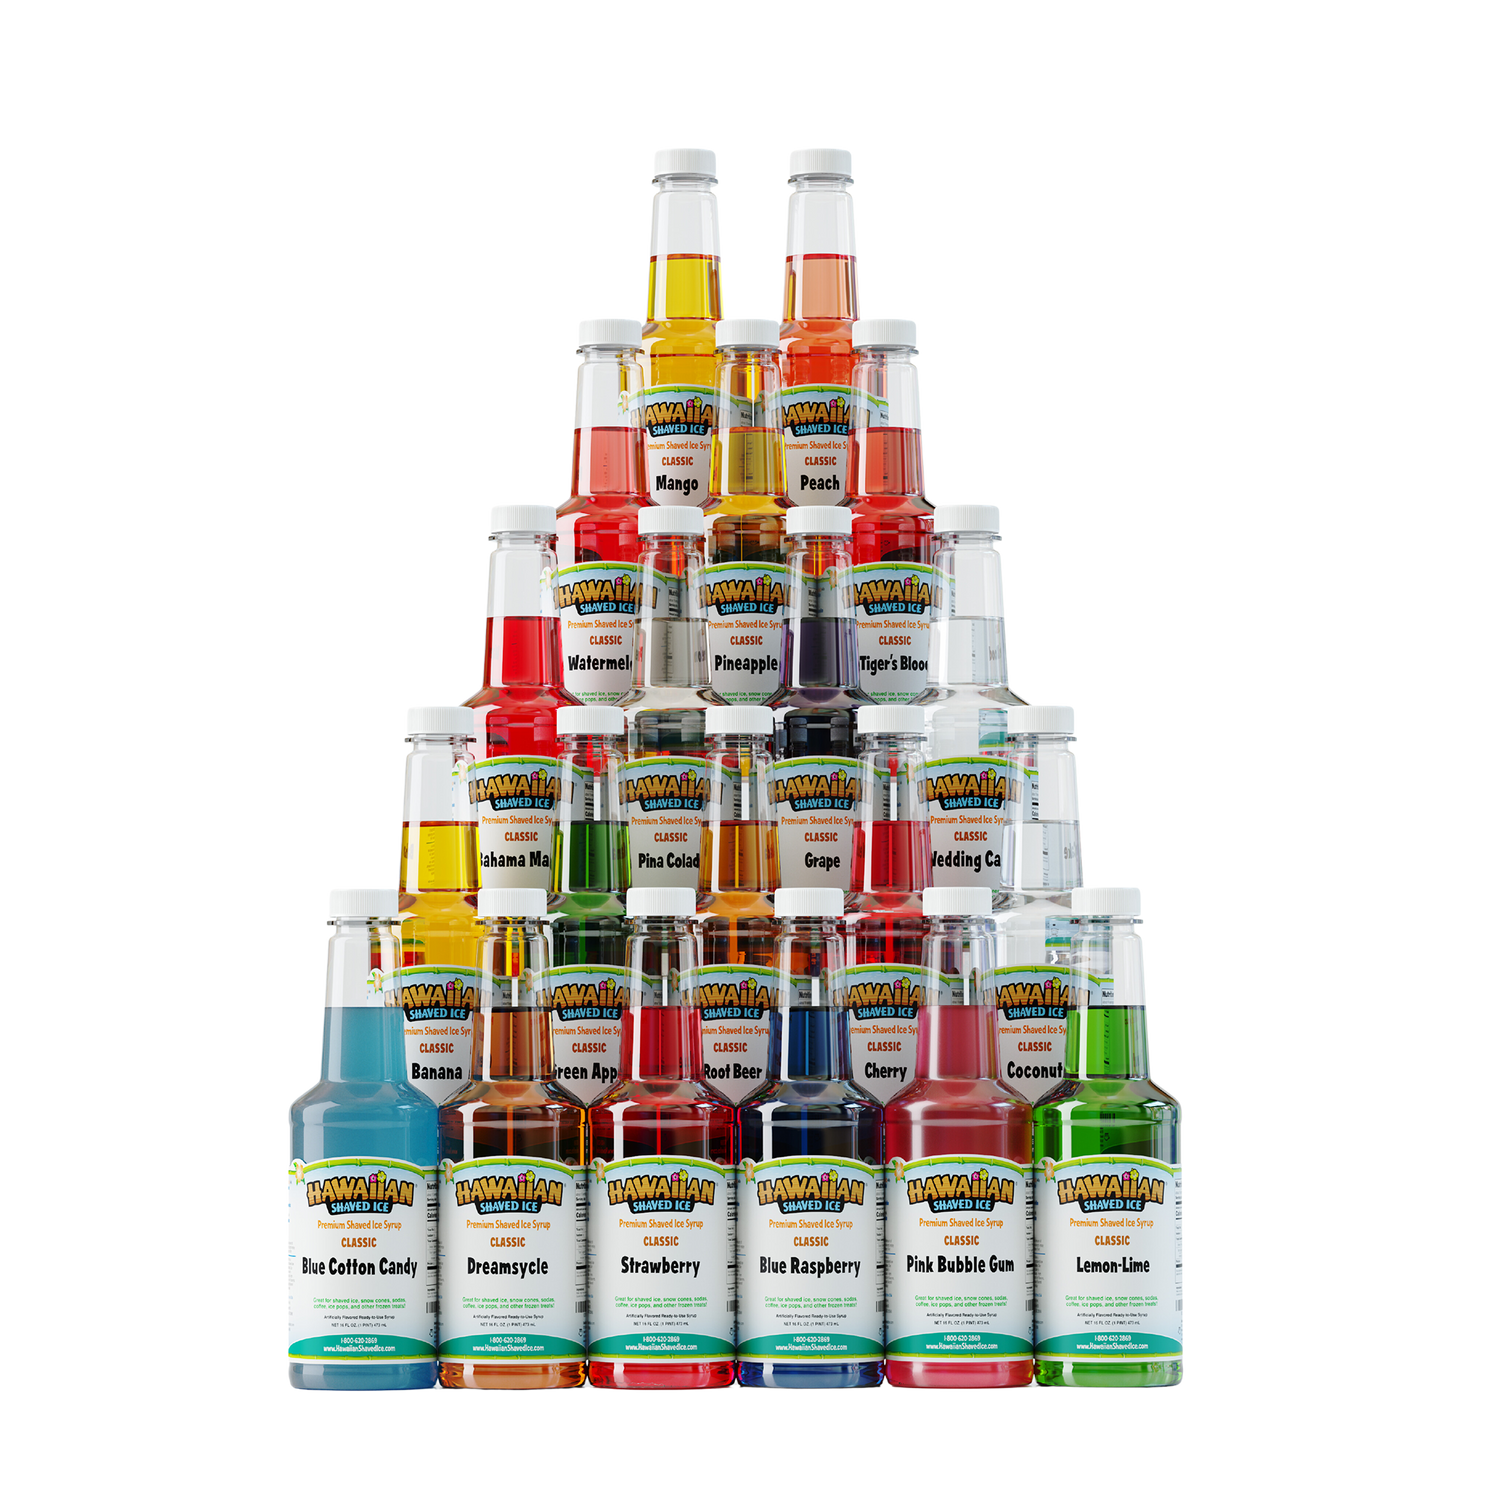
- With the wonderful array of snow cone syrups available at Hawaiian Shaved Ice, the ice pop possibilities are virtually endless! It’s easy to make an ice pop for everyone, from the kids to adults when you have flavors like Granny Smith Apple, Margarita and so many more. We hope that we’ve given you some fun ideas for your next occasion and remember to check back for another edition of yummy recipes to share with your friends and family!
